Quick Setup
We recommend the following flow when just getting started with the character controller:
Project Update
The Ultimate Character Controller is an Editor Extension so when you import from the Asset Store it does not bring the project settings with it. After the Ultimate Character Controller is done importing the following window will appear:
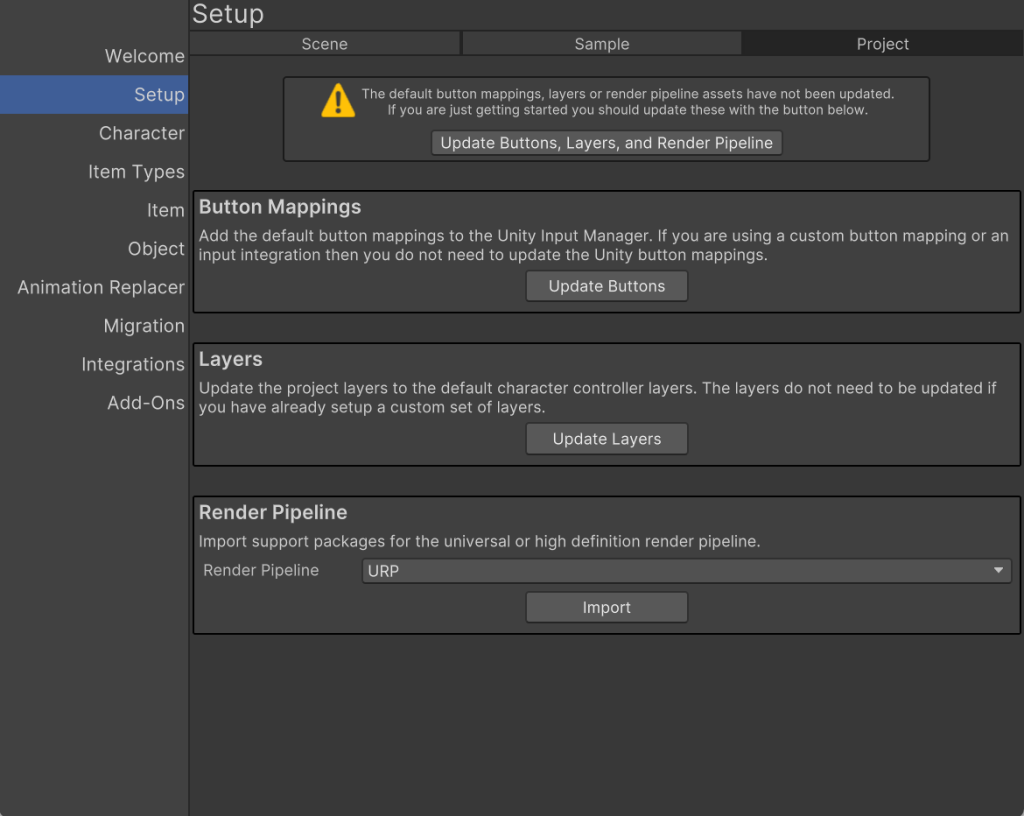
If you are just getting started you should select the Update Buttons, Layers and Render Pipeline button. This will add the default button mappings, layer settings, and import the active render pipeline.
By default, the Ultimate Character Controller uses Unity’s input system which relies on the Input Manager. The Input Manager requires the button mappings (Jump, Crouch, Fire, etc.) to be created ahead of time so this dialog will add the required button mappings. It will not override a button mapping that already exists.
The layers will update Unity’s layer settings. This is recommended so the correct default layer names appear. These layers can later be remapped within the character’s Layer Manager.
If you would like to perform the button or layer update later you can do so by selecting the Tools -> Opsive -> Ultimate Character Controller -> Main Manager menu option and then select the Setup button followed by the Project tab at the top.
Scene Setup
Before you create your character the scene needs to first be setup to work with the Ultimate Character Controller. Setting up the scene involves adding the scene-level manager components and adding the Camera Controller. The scene-level manager components include objects such as the Object Pool and Surface Manager which are a singleton component necessary for the Ultimate Character Controller to function. These objects can easily be created within the Setup Manager (Tools -> Ultimate Character Controller -> Main Manager, then select Setup):
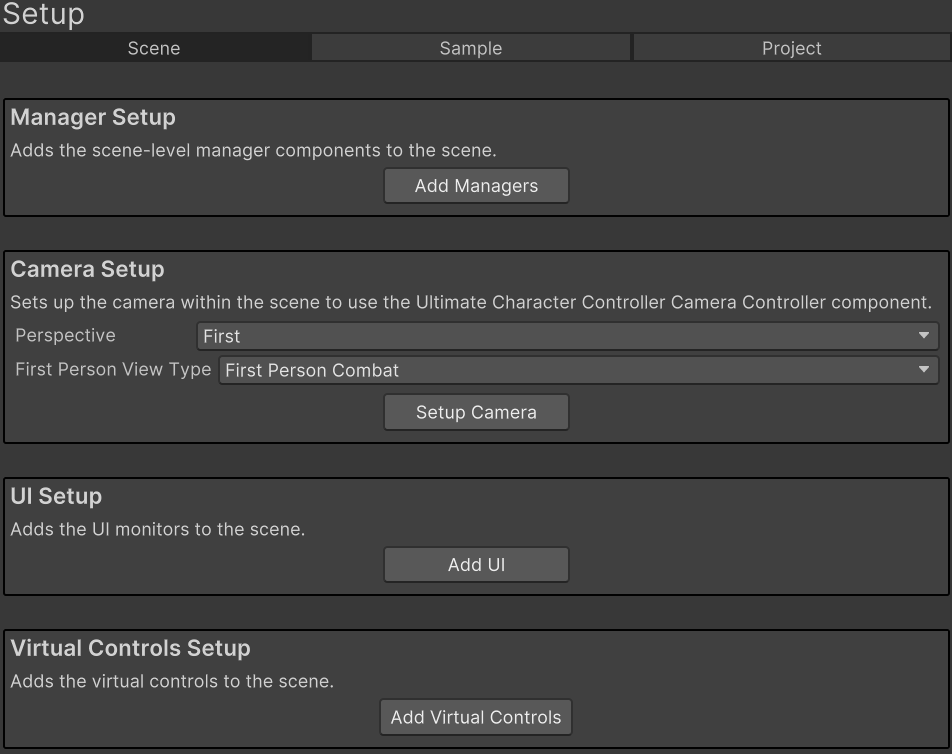
To get started click the “Add Managers” button. This will add the “Game” GameObject to the scene with all of the necessary scene-level components. The Camera Controller can then be setup by clicking the “Setup Camera” button. Make sure you first select the perspective and view type that you’d like to use.
The Setup Manager can also setup the default UI and virtual controls but this is not required to get started. If you do add the UI or virtual controls you can later customize it to fit the style of your game.
Character Setup
The Character Creation page gives details on how to create a new character.
Item Type Setup
The Item Type Creation page gives details on how to create a new Item Type.
Item Setup
The Item Creation page gives details on how to create a new item.