Demo Scene
When first getting started with the Ultimate Inventory System it is recommended that you play around the demo scene to get familiar with the system. The demo requires TextMesh Pro. If you do not have TextMesh Pro installed you can do so via the Unity Package Manager.
The demo scene is separated in two parts. The village and the forest. In the village the player character can take their time buying/selling, storing, upgrading and crafting items. In the forest the player is able to use their items to battle bandits and retrieve loot.
The demo character scripts are not part of the core UIS framework and should not be used outside of the demo scene. There are a few objects which are also demo specific such as the Character Stats, Item Upgrade Menu and the Gate.
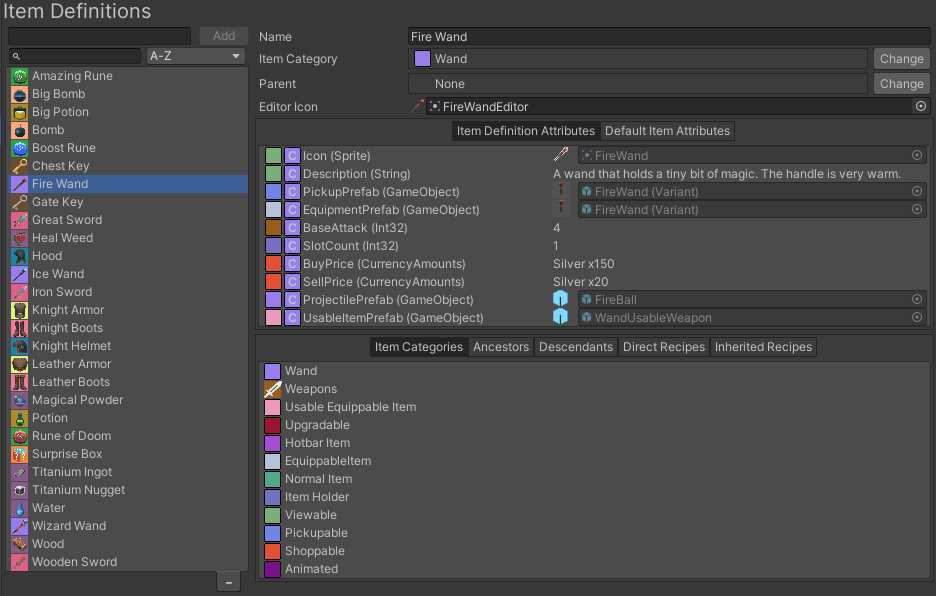
You can edit the demo inventory database by going to Tools -> Opsive -> Ultimate Inventory System -> Main Menu. When getting started it is recommended that you create a few Item Definitions of your own to get a sense of how the items can be referenced in the scene.
The items can be added to the player character directly in the editor by setting them in the character’s Inventory component. Select the “(Main) Main” Item Collection on the Inventory component of the “Player Character” to make the main Item Collection appear.
From here you can add your own Item Definitions. The player can start with an equipped item in hand by adding the weapon directly to the “Equipped” item collection.
All the menus are be found under the “Inventory System Canvas” GameObject. These menus are activated when the character interacts with objects in the scene. Most of the world objects, such as the shop and crafting stable, are found under World -> Static Interactables. The Main Menu and the Gameplay menu are slightly different as they are opened by other means. On the “Inventory System Canvas” GameObject you will find the Display Panel Manager which allows you to specify the game play and main menu.