Getting Started
Importing
Before you import the Deathmatch AI Kit ensure that you have first imported:
- Behavior Designer
- Behavior Designer – Movement Pack
- Ultimate Character Controller, UFPS, or Third Person Controller
- Behavior Designer / Character Controller integration
For the Behavior Designer / Character Controller integration, enter your Behavior Designer invoice number at the top of the downloads page, then click Download next to the “Ultimate Character Controller”. Ensure you have also imported the Ultimate Character Controller Sample Package.
If you have an existing project we recommend testing the demo scene in a new project. This will ensure the layers from the demo scene do not overlap with your existing layers. The following inputs are added:
- Scoreboard
- Toggle Weapon Wheel
- End Game
Along with the the following layers:
- Layer 8: RedTeam
- Layer 9: GreenTeam
- Layer 10: BlueTeam
- Layer 11: YellowTeam
- Layer 12: Ragdoll
We expect most Deathmatch AI Kit users are interested in the AI rather than creating an exact deathmatch scene replica. For this you do not need to import into a new project.
Demo Scene
The Deathmatch AI Kit contains two scenes: a main menu and the actual demo scene. The Ultimate Character Controller demo assets are required by these demo scenes. There are a few steps required before being able to play the demo scene:
- Open the Main Menu and Spark scenes and save the files. An editor script will automatically run ensuring all of the correct references are setup.
- Open the Setup Manager from Tools -> Opsive -> Deathmatch AI Kit -> Setup Manager and update the project.

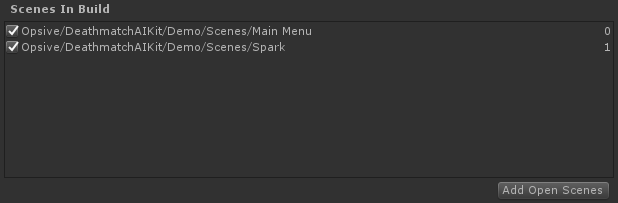
- Add the MainMenu and Spark scenes to the Unity Build Settings.
Lightmapping
In order to reduce the download size the demo scene does not contain any lightmapping. When the scene first opens it will appear dark and this can be corrected by baking the scene. If the lights are not baked before hitting play they will automatically be disabled.